How to Choose Home Office Lighting for Video Calls and Reduced Eye Strain
Jump to section
Have you ever finished a full day of remote meetings only to find your eyes burning and your head aching, all while looking washed out or shadowy on camera? High-definition webcams often struggle in poor ambient lighting, causing video feeds to look grainy or overexposed. At the same time, staring at bright screens in a dimly lit room forces your eyes to constantly adjust between harsh light and dark shadows.
Achieving effective home office lighting for video calls isn't about setting up a broadcast studio or buying expensive equipment. It comes down to understanding how light moves across your desk, how your camera processes brightness, and how your eyes react to screen contrast. By making targeted adjustments to fixture placement, color temperature, and light diffusion, you can build a balanced workspace that looks professional on Zoom while keeping visual fatigue to a minimum.
Home office lighting for video calls: Understanding the Three-Layer Lighting Approach for Home Offices
Proper workspace illumination relies on layering three distinct light sources: ambient light, task light, and focal or accent light. When one of these layers is missing, the room develops harsh contrast zones that make your webcam flicker and your pupils work harder than necessary.
Ambient lighting forms the foundation of your room. This is the general overhead light from ceiling fixtures, recessed cans, or broad natural daylight coming through windows. The primary goal of ambient light is to bring the overall room brightness up to a comfortable baseline. Relying solely on a bright monitor in a dark room creates high visual contrast. Every time you glance away from your document to your desk surface, your irises expand and contract to adapt. Over several hours, this repetitive adaptation contributes significantly to visual fatigue.
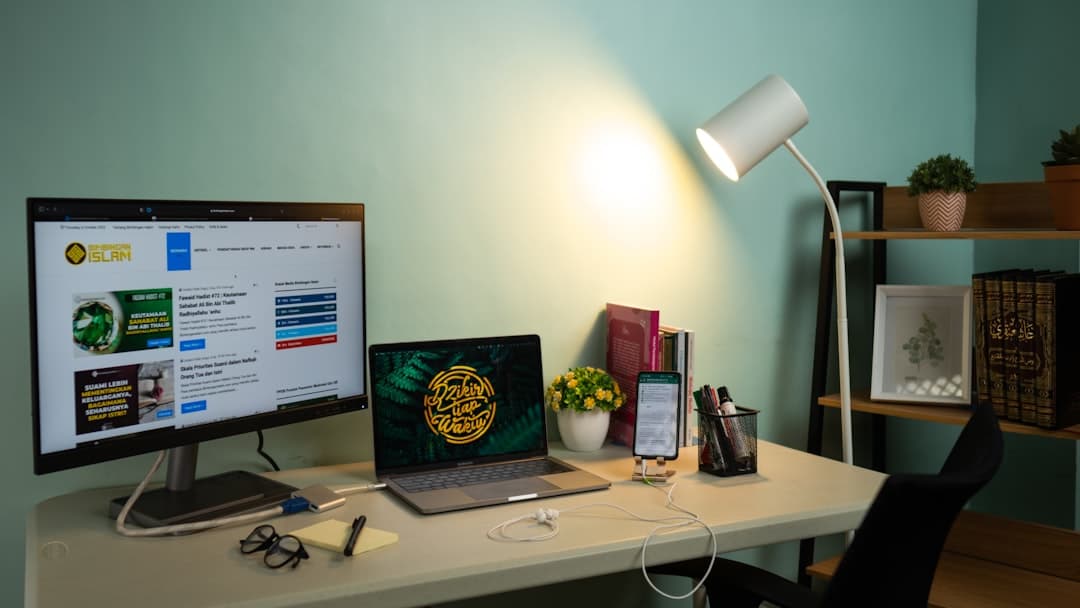
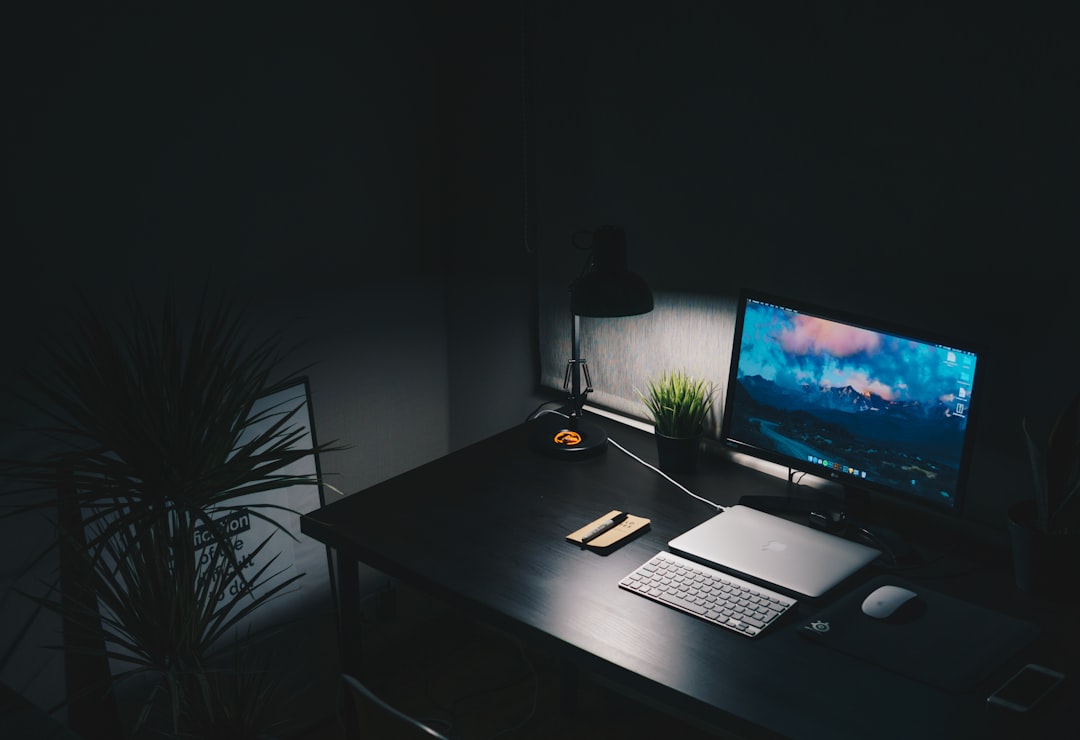
Task lighting focuses illumination precisely where you work. A dedicated desk lamp, a flexible swing-arm fixture, or a screen-mounted light bar provides targeted coverage for reading paper documents, writing, or typing on a keyboard. When setting up an ergonomic workstation—whether you use a basic laptop riser or a full setup like an ergonomic dual monitor desk setup—task lighting ensures your active work surface remains evenly illuminated without overwhelming the surrounding room.
Focal or key lighting addresses your face specifically for video conferencing. Standard room lighting usually points straight down from the ceiling, casting heavy shadows under your eyes, nose, and chin. A dedicated key light fills in these shadows, allowing your webcam sensor to capture clear video without cranking up digital gain, which causes noise and graininess in your feed.
Positioning Key Lights for Clear Video Calls Without Glare
Positioning your fixtures correctly makes a bigger difference in image quality than buying a more expensive camera. The most common mistake remote workers make is pointing a bright desk lamp straight at their face from below eye level, or placing a key light directly behind their webcam at full brightness.
To achieve clear, natural-looking home office lighting for video calls, aim for a 45-degree angle technique. Position your primary light source roughly 45 degrees to the side of your main monitor and slightly above eye level, angled down toward your face. This side-angled angle models facial features naturally, creating subtle depth rather than flattening your appearance or blinding you during meetings.
Managing Reflections If You Wear Glasses
If you wear eyeglasses, direct front lighting reflects off the lenses, blocking your eyes on camera and bouncing light straight back into your retinas. To eliminate lens glare, raise your key light slightly higher than eye level and push it farther out to the side. Increase the distance between the fixture and your desk, then slightly turn up the brightness to compensate. Angle the light across your face rather than straight into your frame. This keeps reflections off your glasses while illuminating your features evenly.
Diffusion is equally critical. Raw LED bulbs produce pinpoints of harsh light that create harsh highlights and sharp shadows. Look for fixtures with built-in frosted acrylic panels, or add a simple clip-on diffuser shade. Diffused light scatters evenly across your skin, minimizing harsh shadows and reducing the glare that causes you to squint during long calls.
Managing Color Temperature and Brightness to Reduce Eye Strain
Color temperature measures how warm or cool a light source appears, measured in Kelvin (K). Understanding where your lights fall on the Kelvin scale allows you to synchronize your workspace fixtures with natural daylight cycles and screen output.
Warm light ranges from 2700K to 3000K, emitting a yellowish glow similar to traditional incandescent bulbs. Warm light creates a cozy, relaxing environment suitable for evening reading, but it can make your video feed look overly yellow or dim during daytime meetings. Cool daylight ranges from 5000K to 6500K, producing a crisp blue-white light that mimics bright noon sunshine. While cool light boosts alertness and makes webcams appear sharp, exposure to bright blue-white light late in the afternoon can disrupt circadian rhythms and make it harder to wind down after work.
For most work-from-home setups, a color temperature of 3500K to 4000K hits the ideal middle ground. This neutral white light renders natural skin tones accurately on camera without feeling overly harsh or clinical. Choosing dimmable fixtures with adjustable color temperature settings allows you to run 4000K during core morning work hours and gradually dial back to a warmer 3000K as daylight fades.
Practical workspace setups prioritize balanced room brightness over extreme screen illumination, giving your eyes a consistent visual baseline throughout the day.
Matching monitor brightness to ambient room brightness is another key step. If your screen looks like a light fixture in a dim room, it is too bright. If it looks dull or grayish compared to the wall behind it, turn the brightness up. Many modern monitors include auto-brightness sensors, but manually setting your screen to match the surrounding ambient wall light provides a stable visual baseline.
Please note that while proper lighting placement and color calibration reduce visual strain and improve comfort during computer work, these adjustments are ergonomic setup recommendations and do not constitute medical advice. If you experience persistent eye pain, severe fatigue, or vision changes, consult an eye care professional.
Selecting the Right Fixtures: Monitor Bars, Key Panels, and Desk Lamps
Choosing the right lighting hardware depends on your available desk space, meeting frequency, and overall workspace layout. Different fixtures solve different problems, and each comes with trade-offs worth considering before buying.
Monitor Light Bars
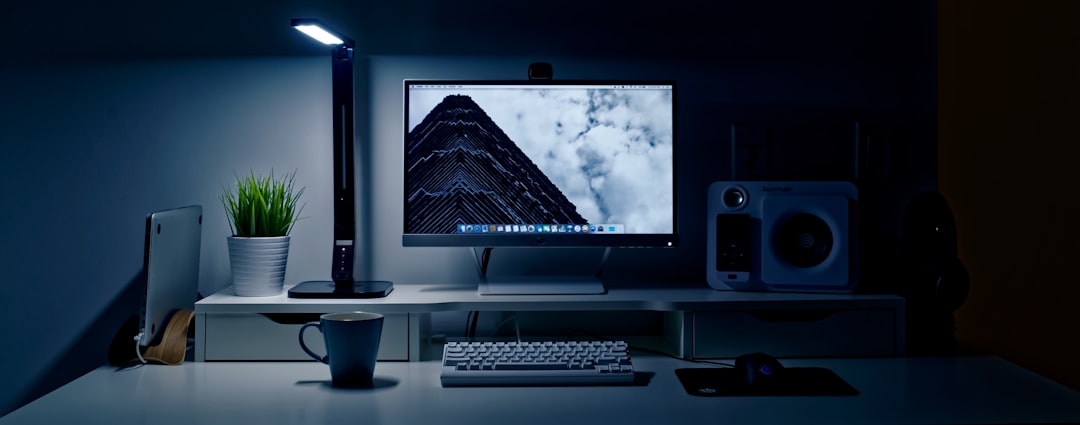
Monitor light bars sit directly on top of your display, projecting light downward onto your keyboard and desk mat. Because they direct light down at a strict angle, they do not bounce glare off your screen glass.
- Trade-offs: Monitor bars excel at task lighting and saving desk space. However, because they sit above your screen and point downward, they illuminate your hands and desk, not your face. A monitor bar alone will not solve face shading during video calls.
LED Key Light Panels
Slim LED key light panels mounted on desk clamps or small desktop tripods are designed specifically for video streaming and conferencing. They feature wide diffusion panels and precise controls for color temperature and brightness levels.
- Trade-offs: Key panels deliver flattering, flicker-free face lighting that makes low-cost webcams look sharp. The downside is physical footprint: clamp mounts require open desk edges, and standing panels take up real estate. Running power cables down your setup also requires clean routing—similar to managing cords outlined in our desk cable management guide.
Traditional Swing-Arm Desk Lamps
Classic architect-style desk lamps feature multi-jointed arms that allow you to position a single light head anywhere over your desk surface.
- Trade-offs: Swing-arm lamps are versatile and affordable. You can point the lamp down for paperwork, swivel it toward a side wall to create indirect ambient fill, or tilt it toward your face for an unexpected call. However, standard lamps lack built-in light diffusers, meaning you must pick your bulb carefully to avoid harsh points of light.
Step-by-Step Checklist for Optimizing Your Desk Lighting
Use this sequence to systematically align your workspace fixtures, balance contrast, and test your camera appearance before your next meeting.
- Audit your background to ensure bright windows or exposed wall bulbs are not directly behind your chair.
- Set your primary ambient room light to an even baseline, avoiding pitch-black surroundings behind monitors.
- Position your face key light roughly 45 degrees to the side of your webcam and slightly above eye level.
- Adjust key light color temperature to a neutral setting between 3500K and 4000K for accurate skin tone rendering.
- Attach or enable light diffusers to break up direct LED hotspots and soften shadows under your eyes.
- Align task lighting toward physical writing areas or keyboards, keeping direct beams off your display screens.
- Match your monitor screen brightness to the wall surface illuminated behind your desk setup.
- Open your webcam preview app to check for lens glare, blown-out highlights, or heavy facial shadows, adjusting lamp distance as needed.
Balancing Natural Daylight With Artificial Fixtures Throughout the Day
Natural sunlight is the highest quality light source available, but its intensity and angle change continuously across the workday. Relying on sunlight alone leads to unpredictable video quality as clouds pass by or the sun shifts across windows.
Avoid placing your desk directly in front of an unshaded window where you face the glass. While this lights your face nicely for calls, the sheer brightness of direct sunlight entering your eyes causes pupil constriction and squinting, creating screen reading discomfort. Conversely, sitting with an unshaded window directly behind your back turns your camera view into a silhouette, as the camera scales exposure to the bright background, leaving your face in shadow.
The ideal window layout places natural light perpendicular to your desk—shining across your workspace from the left or right side. To control changing intensity, install sheer translucent blinds or light-filtering shades. Sheer blinds scatter direct sunlight into soft, even ambient light, turning a harsh window into a massive natural key panel.
As afternoon transitions into evening, compensate for falling natural light by slowly dialing up your artificial key panels and adjusting color temperatures down from daylight-balanced 4000K toward a softer 3000K. This smooth transition reduces eye strain during late focus sessions while keeping your video call presence consistent regardless of the hour.
Keep reading
Related Articles
How to Reduce Echo in Home Office Setups: A Practical Guide
Tired of sounding like you are calling from a cavern on Zoom? Learn practical, budget-friendly ways to eliminate room reverb and improve speech clarity.
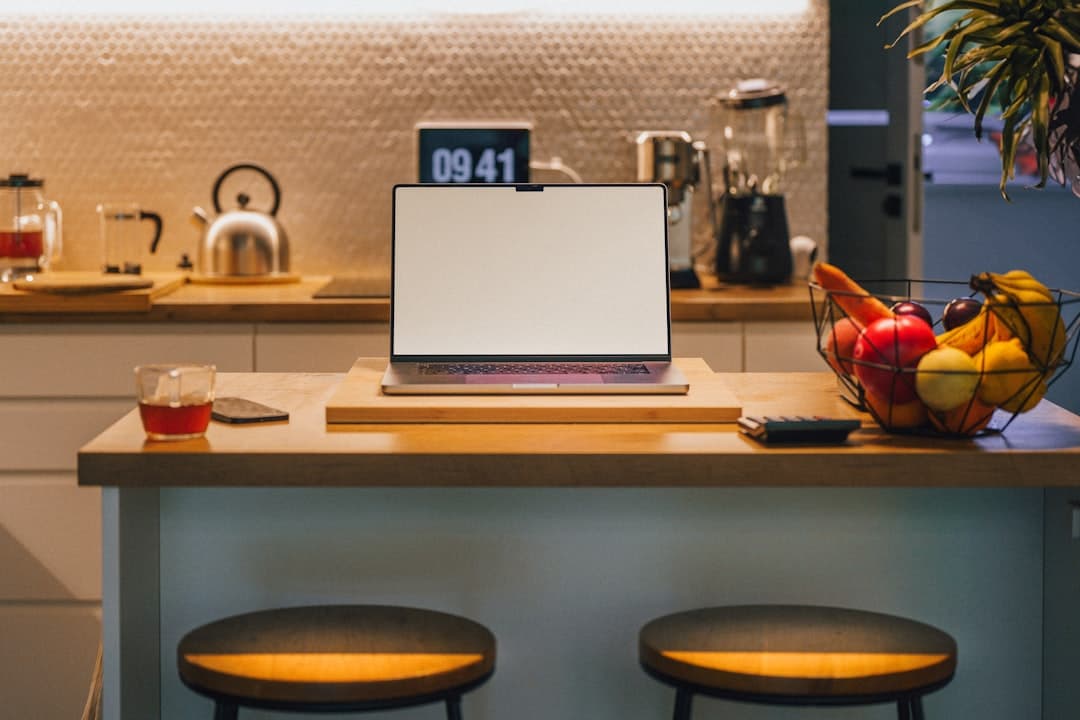
Smart Home Office Automation Ideas for Daily Work Routines
Streamline your remote workday with practical smart home office automation ideas that cut friction, boost daily focus, and enforce healthy work-life boundaries.
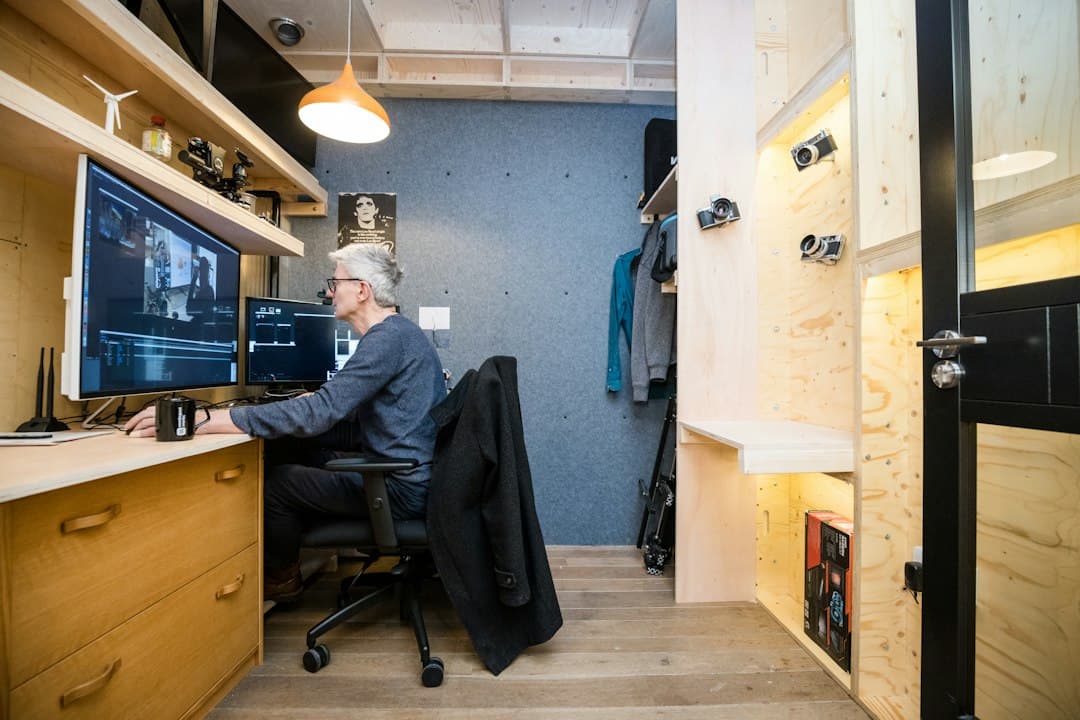
Small Closet Desk Build: How to Convert a Closet into a Functional Cloffice Setup
Transform an unused reach-in closet into an ergonomic, space-saving cloffice. Learn how to plan dimensions, mount floating desktops, route power, and optimize lighting.