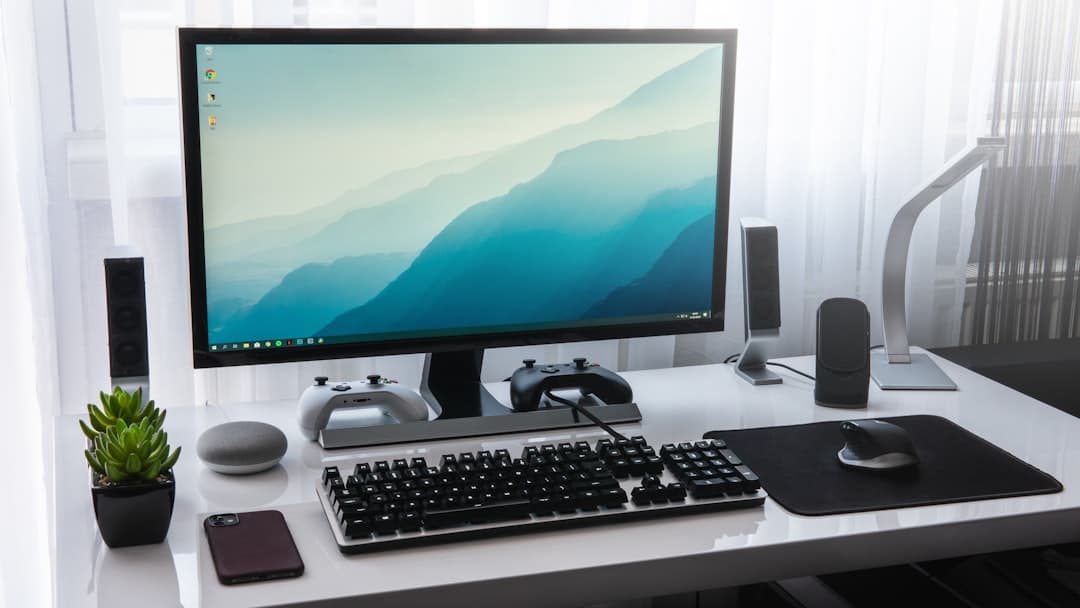
Desk Cable Management Essentials: A Practical Step-by-Step Guide
Jump to section
Does your desk look like a tangled web of power cords, display cables, and charger wires every time you look down? Loose cords dragging across the floor or tangling around your chair wheels can ruin focus, collect dust, and make everyday cleaning frustrating. A messy workstation often feels overwhelming, but clearing away cable chaos does not require an engineering degree or expensive custom furniture.
With a few affordable tools and a systematic approach, you can transform any chaotic desk into a clean, functional workspace. This step-by-step guide walks you through auditing your gear, mounting power sources beneath your desk top, bundling wires efficiently, and keeping your setup organized for the long haul.
Step 1: Audit Your Power Needs and Gather Cable Supplies
Before you unplug a single device or buy hardware, clear your workspace and take inventory of everything on your desk. Count how many total power outlets you actually need for daily operations. Include your computer tower or laptop dock, primary and secondary monitors, desk lighting, phone chargers, and powered audio equipment.
Taking this inventory prevents you from buying an undersized surge protector or hiding cables that you frequently need to move. Once you have a final tally of your powered gear, gather your core cable management supplies. You do not need top-of-the-line specialty items, but picking the right tool for each job makes a significant difference in how long your setup lasts.
Consider these common cable organization tools and their practical trade-offs:
- Reusable Hook-and-Loop (Velcro) Ties: These are far superior to plastic zip ties for home office setups. Plastic zip ties are permanent, requiring you to carefully cut them with shears every time you swap out a keyboard or charger cable. Hook-and-loop ties hold firm, can be readjusted hundreds of times, and will not pinch or damage delicate video cables.
- Under-Desk Cable Trays: Metal wire baskets and plastic J-channel raceways are the two main types. Wire baskets attach to the underside of your desk frame using wood screws or heavy-duty clamps, holding thick power bricks securely while allowing plenty of airflow. J-channels stick directly to the desk surface with adhesive, creating a sleek, hidden channel for lighter cords, though their adhesive can peel off wood veneer if removed forcefully later.
- Adhesive Silicone Cable Clips: These small clips sit on the edge or back of your desk top to keep daily charging cables from falling behind your workspace when unplugged. They work well for lightweight cords but struggle to retain heavy AC power adapters.
- Mountable Surge Protectors: A quality power strip with keyhole mounting slots on the back lets you attach your central power supply directly to the underside of the desk frame, keeping all main plugs completely off the floor.
Step 2: Mount Your Power Strip and Tray Under the Desk
The secret to an ultra-clean desk setup is getting your main power distribution off the carpet or hardwood floor. When power strips sit on the floor beneath your feet, every cord hangs down visually, creating a chaotic drop line behind your desk top.
Start by choosing a location on the underside of your desk for your surge protector. Position it toward the rear center or rear edge, close to where the majority of your equipment sits. If your desk is made of solid wood or high-density fiberboard, mounting the power strip with small wood screws provides the most reliable connection. Measure the keyhole slots on the back of the surge protector, insert two shallow pilot screws into the underside of the desk top, and slide the power strip into place.
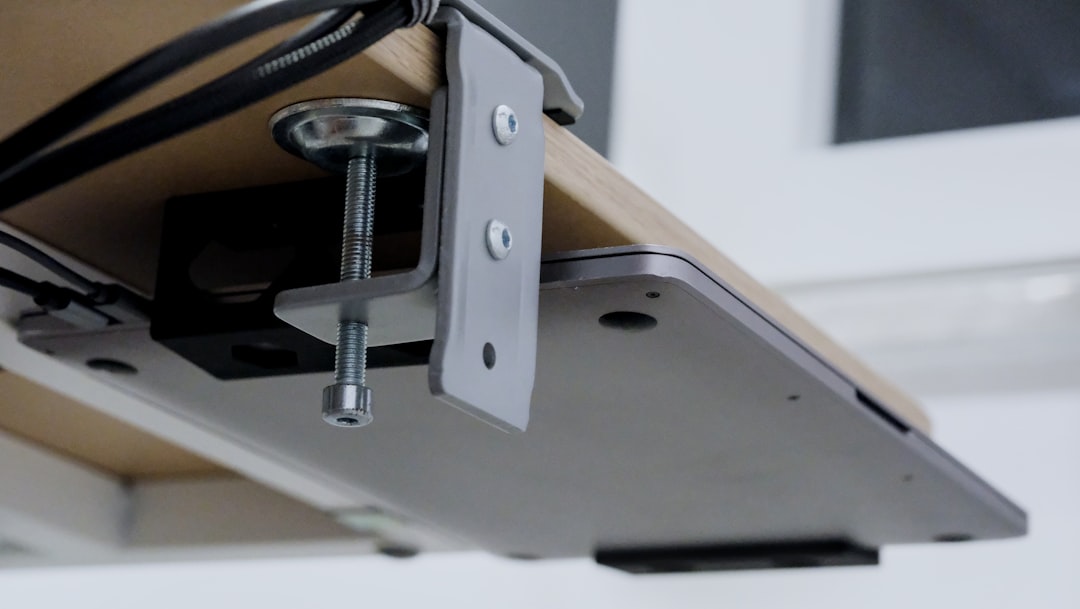
If you prefer not to drill into your desk frame, heavy-duty double-sided foam mounting tape can work, but keep temperature in mind. Power bricks generate low heat, which can gradually soften lower-grade adhesives over several months. Always clean the mounting surface with rubbing alcohol before applying adhesive pads to ensure a long-lasting bond.
Next, install your under-desk cable tray directly adjacent to the power strip. This tray will act as the central basin for bulky power bricks, excess cord slack, and laptop power adapters. Keeping the tray close to your power strip ensures that thick power cords stay completely concealed within the tray frame rather than dangling loosely beneath the desk top.
Step 3: Route and Bundle Main Monitor and Hardware Cables
With your central power strip and tray securely attached beneath the desk frame, you can begin connecting your primary equipment. Start with your fixed hardware, such as your monitors, desktop tower, or laptop docking station.
If your display screens sit on adjustable monitor arms, utilize the cable management channels built into the arm structure. Run the video cables and display power cords down through the arm frame so they exit near the base of the mount. If you are building an ergonomic dual monitor desk setup, group the display cables from both screens together into a single fabric cable sleeve or secure them with velcro ties every six inches. Combining parallel cables into one clean bundle reduces visual noise behind the screens.

Guide the cord bundles directly toward the rear edge of your desk top and down into your under-desk cable tray. As each power cable reaches the tray, coil the excess cord length into a neat oval loop, wrap a velcro strap around the loop, and set it inside the tray. Avoid wrapping cords too tightly around transformer bricks, as sharp bends can stress internal copper wires over time.
Plug each power adapter into your mounted surge protector inside the tray. By handling all primary hardware cords first, you establish a solid framework before dealing with smaller desktop accessories.
Step 4: Secure Desktop Peripherals and Surface Connectors
Once your heavy monitor cords and main power adapters are tucked safely inside the under-desk tray, turn your attention to the top surface of your desk. Daily accessories like mechanical keyboards, mice, webcams, desk lamps, and phone chargers can quickly make a clean desk look cluttered if their cables wander freely.
For wired keyboards and desktop accessories, route their cables straight back toward the rear edge of the desk top. You can run them beneath a wide desk pad to keep them flat and out of sight. If your desk sits against a wall, attach adhesive cable clips to the back edge of the wood top to keep these peripheral wires running in clean vertical lines down into your under-desk tray.
Managing daily phone, tablet, or headphone charging cords requires a slightly different approach because these cables are constantly plugged and unplugged. Attach a multi-slot silicone cable holder near the back corner of your desk top or along the side edge of your desk frame. This keeps the connector heads within arm's reach while preventing loose ends from sliding onto the floor when not actively plugged into a device.
Weighted desktop cable anchors offer an alternative if you prefer not to stick adhesive clips to your desk finish. These heavy blocks sit loosely on your desk top or desk mat, allowing you to move your charging station whenever you reconfigure your workspace layout.
Step 5: Test Range of Motion and Check Long-Term Desk Cable Slack
Before closing up your cable trays and calling the job finished, you must test the movement of your gear. Cable management that is pulled too tight can strain hardware ports, loosen connections, or damage delicate display outputs when gear shifts position.
If you operate a height-adjustable workspace, this step is vital. When configuring a budget standing desk setup, running cords too short is a common oversight. Raise your desk top to its highest standing position while watching your cable bundles carefully. Ensure your main power strip cord—the single master cable running from your mounted under-desk strip to the wall outlet—has sufficient slack to reach the outlet comfortably without stretching taut.
Here is a quick verification checklist to complete before finishing your cable organization project:
- Unplug all non-essential equipment and wipe down the underside of your desk frame.
- Mount your surge protector directly to the desk frame or underside wood top.
- Attach under-desk cable trays or J-channel raceways using screws or heavy adhesive.
- Route main monitor, computer, and dock power cables into the tray and secure with velcro.
- Attach silicone cable clips to the rear desk edge for phone and accessory chargers.
- Raise standing desks to max height to verify cord slack before final tightening.
From an ergonomic perspective, setting up your workspace so screens and peripherals move freely makes it easy to adjust your monitor height to eye level without fighting cord tension. Taking care of your posture and workspace alignment contributes to overall daily comfort, though practical desk setup adjustments should not replace professional medical advice for persistent neck or back pain.
Step 6: Maintain Your Setup When Gear Changes
Desk cable management is not a one-time project that stays perfect forever without minor maintenance. As remote work habits evolve, you will inevitably swap out laptops, add new webcams, or test different desktop accessories. Having a system in place for future hardware changes keeps your workspace clean over the long term.
Store a small stash of extra velcro ties, a pair of scissors, and spare adhesive cable clips in a desk drawer near your workstation. When you introduce a new electronic device, resist the temptation to quickly drop its power cord over the back of the desk without securing it. Take three minutes to weave the new wire through your existing cable sleeves and tray system.
Another helpful maintenance habit is labeling both ends of similar black cables. Use simple wrap-around cable tags or colored tape near the power plug and near the device connector. When you need to unplug a single monitor power brick or swap a USB-C dock line in a hurry, clear labels save you from tracing lines through an under-desk basket, making workspace updates simple and stress-free.
Frequently Asked Questions
How long does this setup take for most remote workers?
Most people can complete the core steps in one focused afternoon, then refine cable routing and ergonomics over the next week as they settle into daily use.
Do I need to buy everything at once?
No. Start with the items that fix your biggest pain point—often monitor height or chair support—then add accessories as your budget and workflow allow.
Keep reading
Related Articles
Shared Two Person Home Office Layout Ideas: Desk Placement and Acoustics
Designing a functional two person home office layout requires balancing physical desk spacing, video call backgrounds, electrical loads, and acoustic isolation.
Wi-Fi 7 WFH router: Upgrading Your WFH Internet: Wi-Fi 7 Mesh Routers for High-Bandwidth Hybrid Roles
Learn how Wi-Fi 7 mesh routers eliminate video lag and slow file uploads for hybrid workers with high-bandwidth home office demands.
How to Soundproof Home Office Door for Privacy: Step-by-Step Guide
Block household distractions and secure confidential calls by learning how to seal air gaps, add mass, and soundproof your home office door effectively.