Thunderbolt 4 Desk Setup Guide: Achieving Single-Cable Connectivity
Jump to section
Every evening when you finish your workday, unplugging five or six individual cables from your laptop feels like shutting down a server rack. Power brick adapters, dual display cables, external hard drives, webcams, and USB dongles crowd the sides of your computer. When morning arrives, you plug them all back in one by one, hoping your operating system remembers which external monitor sits on the left. Building a streamlined Thunderbolt 4 desk setup changes this daily workflow entirely. By routing video signals, high-speed data transfers, peripheral connections, and high-wattage device charging through a single physical cable, you can dock and undock your workstation in seconds.
Achieving a reliable single-cable workspace requires understanding hardware requirements, matching power delivery specs, and selecting certified components. A poorly planned setup can lead to unexpected monitor flickering, slow laptop charging, or frustrating peripheral disconnects. This guide walks through the exact hardware standards, component selection, and assembly steps needed to build a clean, high-performance workstation.
Thunderbolt 4 desk setup: Understanding Thunderbolt 4 Technology and Capabilities
To construct a smooth single-cable desk setup, it is essential to understand what makes Thunderbolt 4 distinct from older standards and generic USB-C interfaces. Developed by Intel in collaboration with Apple, Thunderbolt 4 builds upon the physical USB Type-C connector while establishing strict performance baselines. While USB-C refers merely to the shape of the physical port and cable, Thunderbolt 4 defines a comprehensive protocol that guarantees high throughput, display capabilities, and security standards.
The core specification of Thunderbolt 4 includes a constant total bandwidth of 40 Gigabits per second (Gbps). Unlike Thunderbolt 3, which made certain performance metrics optional for manufacturers, Thunderbolt 4 mandates rigid minimum standards. For data transfers, Thunderbolt 4 doubles the minimum PCI Express (PCIe) data requirement from 16 Gbps to 32 Gbps. This increased bandwidth allows external NVMe solid-state drives to achieve read and write speeds exceeding 3,000 Megabytes per second (MB/s), bringing external storage performance virtually on par with internal drives.
Display support under Thunderbolt 4 is similarly upgraded. Every certified Thunderbolt 4 host must support either two 4K displays running at 60Hz refresh rates or a single 8K display at 60Hz. Furthermore, Thunderbolt 4 introduces an updated hubbing architecture. While Thunderbolt 3 allowed only a single downstream Thunderbolt port on a docking station, Thunderbolt 4 supports up to three downstream Thunderbolt 4 ports plus one upstream host port. This structural shift allows users to connect multiple independent Thunderbolt devices, display adapters, and daisy-chained accessories directly to a central hub without requiring a linear chain.
Security and power management are also key pillars of the protocol. Thunderbolt 4 mandates Intel VT-d based Direct Memory Access (DMA) protection, which prevents physical memory exploits through connected PCIe accessories. On the power front, Thunderbolt 4 requires at least 15 Watts of power dedicated to downstream accessories, while providing host charging power via USB Power Delivery up to 100 Watts under standard specs.
Key Components of a Single-Cable Workspace
Designing a reliable setup requires careful selection of compatible components across the entire signal chain. A single bottleneck can drop connection speeds, limit display refresh rates, or prevent laptop charging.
Host Device Compatibility
The foundation of any setup is the host computer. Modern Windows laptops equipped with 11th Gen Intel Core processors or newer, as well as PCs featuring dedicated Thunderbolt 4 add-in cards, offer native support. On the Apple ecosystem, Mac computers powered by Apple Silicon—including M1 Pro, M1 Max, M1 Ultra, M2 Pro, M2 Max, M3 Pro, M3 Max, and higher—fully support dual external displays over Thunderbolt 4. Base Apple Silicon chips (such as standard M1, M2, or M3) support Thunderbolt 4 data and power bandwidth, but are architecturally limited to a single native external display output through the dock.
Thunderbolt 4 Docking Stations and Hubs
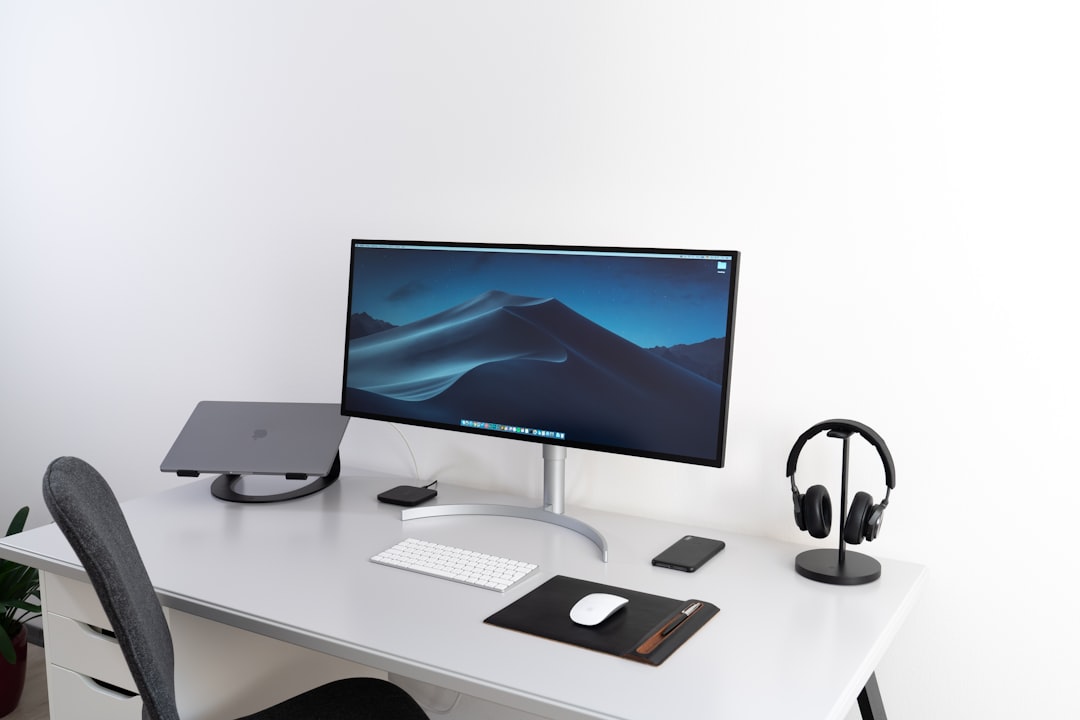
The docking station acts as the central command center for all desk peripherals. Desktop docks typically feature an external power brick capable of delivering high wattage to feed the dock's internal chipsets, downstream ports, and the host laptop. Look for docks that provide:
- Upstream Host Port: Positioned conveniently on the front or side for quick connection to your laptop, capable of providing 60W to 100W Power Delivery.
- Downstream Thunderbolt 4 Ports: Providing 40Gbps bandwidth, 15W downstream power, and support for DisplayPort alt-mode or native USB4 peripherals.
- Legacy Data Ports: USB-A 3.2 Gen 2 ports (10Gbps) for keyboards, mice, webcams, and external drives.
- Networking and Audio: Dedicated Gigabit or 2.5 Gigabit Ethernet RJ45 ports for low-latency internet, alongside a 3.5mm TRRS audio jack for headsets or desktop speakers.
- Media Card Readers: SD 4.0 or MicroSD UHS-II slots for fast photo and video media offloading.
Certified Cables and Display Configurations
Cable quality is one of the most frequent points of failure in single-cable setups. Using a standard USB-C charging cable will restrict data transfers to USB 2.0 speeds (480 Mbps) and disable video output entirely. Always use an officially certified Thunderbolt 4 cable marked with the Thunderbolt logo and the number 4. Passive Thunderbolt 4 cables up to 0.8 meters in length support full 40Gbps speeds, while active optical or re-timed cables are required for lengths up to 2 meters without signal degradation.
Power Delivery and Energy Management
A primary goal of a single-cable desk setup is eliminating the factory power adapter that shipped with your laptop. Achieving this requires matching the power delivery capabilities of your dock with the thermal design power and charging requirements of your host device.
USB Power Delivery operates through a continuous digital negotiation between the power source (the dock) and the sink (the laptop). When connected, the dock communicates its available power profiles—such as 5V/3A, 9V/3A, 15V/3A, and 20V/5A (100W). The laptop selects the highest supported profile it can draw safely. If a workstation laptop requires 90W under heavy computational loads, but the connected dock only delivers 60W, the laptop may experience battery drain while plugged in, or it may throttle CPU and GPU performance to reduce power consumption.
It is crucial to differentiate between a dock's total power supply rating and its host power delivery specification. For example, a docking station shipped with a 135W power adapter might allocate 90W to the upstream laptop port, reserving the remaining 45W for downstream USB ports, active chipset processing, and video encoders. Always check the dock's official specs for "Upstream Power Delivery" or "Host Charging Power" rather than relying solely on the overall power adapter wattage.
For high-performance mobile workstations requiring more than 100W, standard Thunderbolt 4 Power Delivery may not supply sufficient power alone under peak load. In these scenarios, using newer Extended Power Range (EPR) docks capable of up to 140W delivery, or keeping the laptop's secondary power supply connected during intensive rendering tasks, ensures sustained performance without battery depletion.
Step-by-Step Assembly and Cable Management
Constructing a clean, reliable single-cable setup involves methodical placement, physical wire routing, and systematic testing to prevent interference and signal loss.
- Position the Docking Station: Place the Thunderbolt 4 dock near the back edge of your desk or mount it underneath the desktop surface using a custom bracket. Keep the upstream host connection easily accessible from your primary laptop sitting area.
- Connect External Displays: Plug your primary and secondary monitors into the dock using DisplayPort, HDMI, or USB-C to DisplayPort adapter cables. Ensure display cables are securely seated and routed behind monitor mounting arms.
- Plug In High-Bandwidth Peripherals: Connect external NVMe SSD enclosures or high-speed RAID storage directly into the downstream Thunderbolt 4 ports to maximize PCIe throughput. Plug static desk accessories, such as webcams, desktop microphones, and USB audio interfaces, into the USB-A or rear USB-C ports.
- Establish Wired Network Access: Connect a Cat6 Ethernet cable from your router or network switch into the dock’s RJ45 port for maximum network stability and low latency.
- Organize and Secure Cabling: Route all power bricks, display wires, and peripheral cables into an under-desk cable tray or wire raceway. Use reusable hook-and-loop straps rather than zip ties to bundle cables together cleanly without pinching insulation.
- Connect the Single Upstream Cable: Plug the certified Thunderbolt 4 host cable from the dock's upstream port into your laptop's Thunderbolt 4 port. Power on the system and verify display detection and charging status.
Troubleshooting Common Thunderbolt 4 Setup Issues
Even with certified components, complex desktop configurations can occasionally encounter connectivity or display anomalies. Understanding how to identify setup issues for these issues quickly restores full functionality.
Monitor Flickering or Incorrect Refresh Rates: Display instability often stems from uncertified display adapter cables or exceeding total bandwidth limits. Verify that your display cables support DisplayPort 1.4 or HDMI 2.1 standards. On Windows, check Advanced Display Settings to ensure the refresh rate matches your panel's native capabilities. If using dual high-resolution displays, ensure Display Stream Compression (DSC) is enabled on your host graphics processing unit.
Unstable Peripheral Connections or USB Disconnects: Random dropping of USB mice, keyboards, or external storage can occur when high-power bus-powered devices exceed the dock's total power budget, or when 2.4GHz wireless dongles suffer from radio frequency interference caused by unshielded USB 3.0 ports. Position wireless receivers away from active USB 3.0 ports using a short extension cable, or plug them into USB 2.0 ports where available.
Sleep Mode Handshake and Display Waking Failures: When a host laptop resumes from sleep, displays connected via a dock may occasionally remain in power-saving mode. Updating your laptop's system BIOS, graphics driver, and docking station firmware resolves most handshake timing errors. Additionally, disabling deep sleep options within your external monitor’s internal OSD menu can keep video inputs responsive.
Optimizing Workspace Aesthetics and Ergonomics
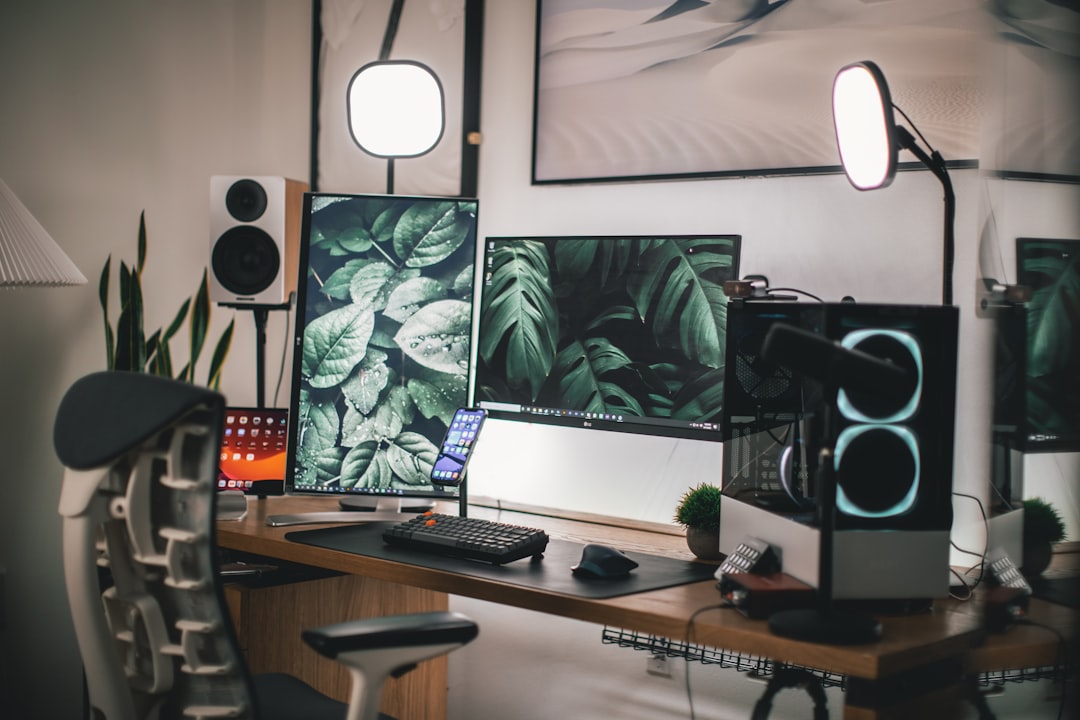
A single-cable Thunderbolt 4 setup provides significant aesthetic and ergonomic benefits beyond technical cable consolidation. By transferring all hardware connections off your laptop, you liberate valuable physical desk space, allowing for cleaner placement of desk pads, mechanical keyboards, and studio monitors.
To maximize ergonomic comfort, pair your setup with a dual-monitor arm or a vertical laptop stand. Mounting your laptop vertically in clamshell mode reduces its footprint on your desk while keeping the single Thunderbolt cable neatly routed downward to an under-desk tray. Alternatively, using a dual-arm monitor mount lets you improve your external displays to eye level while using your open laptop display as an auxiliary screen for chat applications or system monitoring.
Finally, utilize magnetic cable management clips anchored to the desk edge or leg frame. These keep your single primary Thunderbolt 4 cable positioned within easy reach, ready to instantly dock your machine whenever you sit down to work.
Keep reading
Related Articles

Choosing a UPS Battery Backup Home Office Protection Plan
Learn how to choose the right battery backup to protect your desktop gear, prevent sudden data loss, and maintain internet connectivity during power outages.

Connect work laptop to personal monitor: How to Share One Monitor Between Personal and Work Laptops Using a KVM Switch
Learn how to connect a work laptop to your personal monitor using a KVM switch to share your screen, keyboard, and mouse without daily cable swapping.