Connect work laptop to personal monitor: How to Share One Monitor Between Personal and Work Laptops Using a KVM Switch
Jump to section
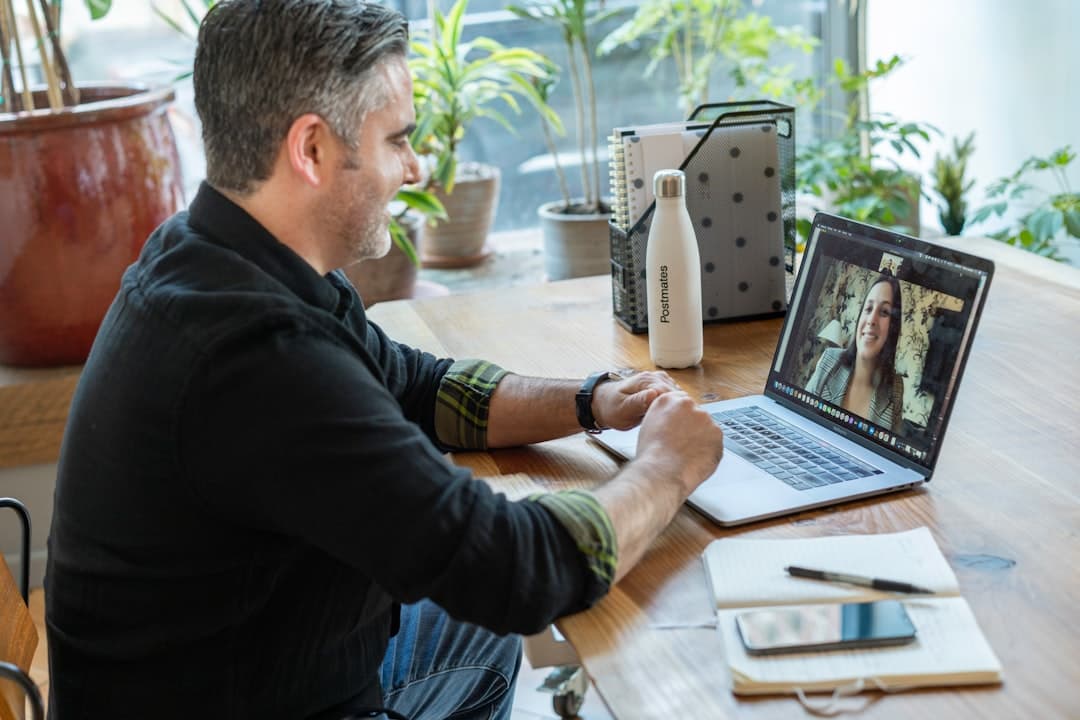
Connect work laptop to personal monitor — Every evening around five o'clock, thousands of remote workers perform the exact same frustrating ritual. You unhook the HDMI cable from your corporate laptop, unplug your mechanical keyboard dongle, pull out the USB mouse cable, and plug every single item into your personal computer. Then, at eight-thirty the next morning, you reverse the entire sequence. Over months of hybrid work, this daily shuffle wears down fragile laptop ports, turns your desktop into a tangled nest of cords, and wastes time you could spend working or relaxing.
If you need a reliable way to connect work laptop to personal monitor setups without constant unplugging, the hardware solution is a KVM switch. By placing a compact switching box between your display, peripherals, and computers, you can route your entire desktop setup between two laptops in a single second with the push of a button. Here is how to choose the right KVM gear, configure your hardware for trouble-free operation, and build a clean dual-laptop workspace.
Connect work laptop to personal monitor: Understanding KVM Switches for the Dual-Laptop Desk
A KVM switch—short for Keyboard, Video, and Mouse switch—is a specialized hardware hub that accepts inputs from multiple computers and routes them to a single set of peripherals and displays. While traditional video switchers only change the video signal on your screen (leaving you to manually move USB cables or rely on multi-device Bluetooth pairing), a true KVM switch toggles display output and attached USB peripherals simultaneously.
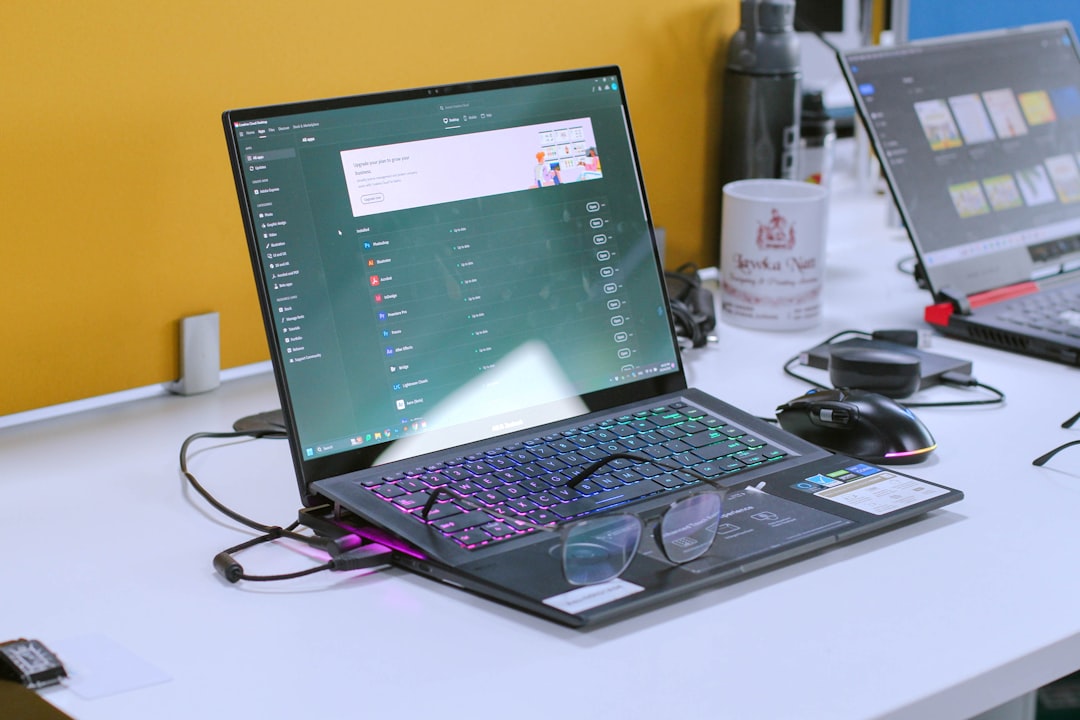
For remote and hybrid workers sharing a single desk between a corporate computer and a personal machine, a KVM switch solves three distinct problems:
- Port Longevity: Constant insertion and removal of HDMI, DisplayPort, and USB cables causes physical wear on your laptops' built-in ports. Routing everything through a stationary switch keeps cable wear on replaceable external cords.
- Workspace Organization: Rather than running separate display and accessory cables across your desk surface, you route your main monitor, webcam, keyboard, and mouse into the switch, leaving a clean, minimal workspace.
- Corporate IT Security Compatibility: Many remote workers initially look into software-based switching programs. However, corporate IT departments routinely block these tools or restrict administrative installation rights on company-issued laptops. Hardware KVM switches operate completely driverless. To your work computer, the switch appears as nothing more than an ordinary external monitor and a standard USB hub, making it universally compatible with locked-down corporate images.
KVM technology generally falls into three main architecture types:
- Standard HDMI/DisplayPort KVM Switches: These traditional units rely on separate video cables (HDMI or DisplayPort) alongside dedicated USB data cables (usually USB-A to USB-B) for each connected computer. They are affordable and reliable, but they require multiple cables running to every laptop.
- USB-C KVM Switches and Docking Stations: Modern KVM units utilize USB-C connectivity to combine video, high-speed USB data, and laptop charging power into a single cable per computer. This allows you to dock and switch laptops with minimal cable clutter.
- Monitors with Integrated KVM Switches: Certain productivity-focused monitors from manufacturers like Dell, LG, and BenQ feature built-in KVM hardware. These displays include multiple upstream USB ports and video inputs directly on the back panel, allowing you to switch source inputs using the monitor's built-in menu or a hotkey.
Budgeting and Hardware Options Across Price Tiers
Selecting the right hardware depends on your budget, your display resolution requirements, and how many cables you are willing to manage on your desk. Prices generally span three main tiers, each carrying specific capabilities and trade-offs.
Basic Entry-Level Switches ($25 to $50)
Entry-level options usually feature two HDMI video inputs, one HDMI output, and two to four USB 2.0 or USB 3.0 peripheral ports. These devices are budget-friendly, but they come with noticeable practical trade-offs. You must run a separate HDMI cable and a USB data cable to each laptop. Furthermore, basic switches lack Power Delivery functionality, meaning both your work and personal laptops must remain plugged into their own separate wall chargers. Low-cost switches also rarely include Extended Display Identification Data (EDID) emulation, which can cause open application windows to shrink or shift around your desktop whenever you toggle between machines.
Mid-Range USB-C KVM Switches ($50 to $150)
Mid-range models introduce USB-C inputs that carry video, data, and basic power pass-through over a single cable per laptop. Most options in this price point support 4K video resolution at 60Hz and feature USB 3.0 data transfer speeds for connected webcams and external storage drives. If you want to declutter your desk without spending hundreds of dollars, mid-range USB-C switches hit a sweet spot. Note that while many support Power Delivery pass-through, you often need to supply your own high-wattage USB-C power adapter to feed power into the switch.
Premium KVM Docking Stations ($150 to $350+)
High-end KVM docking stations from manufacturers such as AV Access and TESmart combine full-featured laptop docking stations with dual-computer switching capabilities. These premium units offer integrated high-wattage power supplies that deliver up to 60W–100W of dedicated charging power to each connected laptop over a single USB-C connection. Premium KVM docks frequently support dual or triple 4K monitor outputs, integrated Gigabit Ethernet ports, analog audio jacks, and hardware EDID retention. The trade-off is a larger physical hardware footprint on your desk and a higher initial cost, but they offer a clean single-cable setup for multi-monitor desks.
Selecting Cables and Peripheral Hardware
Hardware compatibility issues often stem from using improper cables rather than a faulty KVM switch. To successfully connect your work laptop to a personal monitor, pay close attention to cable standards and peripheral power requirements.
Video-Capable USB-C Cables
Not all USB-C cables are created equal. Basic USB-C cables shipped with smartphones or wireless headphones are designed strictly for power delivery and USB 2.0 data transfer speeds; they cannot transmit video signals. When connecting a USB-C KVM switch, use cables explicitly rated for DisplayPort Alt-Mode, USB 3.2 Gen 2 (10Gbps or 20Gbps), or Thunderbolt 3/4. Using an under-spec cable will result in a blank monitor or a "No Signal" error message.
Power Delivery Strategy
If your chosen KVM switch does not feature built-in Power Delivery, ensure both laptops are connected to their original power bricks. Operating a high-performance laptop on battery power while driving an external monitor through a bus-powered switch can cause unexpected display dropping or aggressive CPU throttling. If you are building a tidy desktop workspace on a budget, take a look at our guide on how to plan a budget standing desk setup that lasts for clever ways to hide power adapters beneath your desk surface.
Peripheral Placement and Bandwidth
Plug low-latency hardware like wired mechanical keyboards and mice into the dedicated peripheral USB ports on your KVM switch. If you use a wireless mouse or keyboard with a 2.4GHz USB receiver dongle, plug the dongle into a short USB extension cable connected to the KVM rather than directly into a USB 3.0 port. Unshielded USB 3.0 ports can create radio-frequency interference that causes wireless mouse stuttering or missed keystrokes.
High-bandwidth accessories such as HD webcams, USB microphones, and external hard drives should be plugged into the switch's USB 3.0 hub ports. Keep in mind that sharing a single webcam across two computers means the webcam will disconnect from one laptop when you switch to the other. If you are mid-call on your work laptop, switching to your personal computer will disconnect your camera and microphone from the meeting.
Properly routing these wires is crucial for maintaining an uncluttered work environment. For detailed routing techniques, refer to our complete guide on desk cable management essentials.
Configuring Laptop Settings for Clamshell Mode and Display Retention
Once your hardware is physically connected, configuring your operating system settings ensures your laptops run smoothly when closed and retain your window layouts upon switching.
Setting Up Windows Clamshell Mode
To operate your work or personal Windows laptop with its lid closed while outputting to an external monitor, adjust your power management settings:
- Open the Control Panel and select Hardware and Sound > Power Options.
- In the left-hand sidebar, click Choose what closing the lid does.
- Under the When I close the lid column, change the setting for Plugged in to Do Nothing.
- Click Save changes.
This prevents Windows from going into sleep mode or disconnecting from your external display when you close the laptop screen.
Managing macOS Clamshell Mode
macOS handles closed-lid operation automatically, but it requires three conditions to remain active: the MacBook must be connected to an external power source, an external display, and external USB or Bluetooth peripherals. If your KVM switch does not provide USB-C Power Delivery, your MacBook will go to sleep when closed unless its MagSafe or USB-C charger is connected.
Understanding EDID Retention
Extended Display Identification Data (EDID) is the digital handshake signal an external monitor sends to a computer to communicate its native resolution, refresh rate, and color space. When you switch away from a computer using a basic KVM that lacks EDID retention, the computer thinks the display has been physically unplugged. Windows or macOS will collapse open application windows onto the primary display or resize them down to a default 640x480 resolution. When you switch back, your desktop layout is scrambled.
Choosing a KVM switch with hardware EDID emulation ensures the switch continuously sends a dummy monitor signal to the inactive laptop. As a result, your open applications, browser tabs, and documents stay exactly where you left them when you toggle back and forth.
Step-by-Step Installation Checklist for Your KVM Setup
Follow this sequence to set up your KVM hardware cleanly and avoid common wiring mistakes during installation. If you are running multiple monitors alongside your laptops, review our guide on building an ergonomic dual monitor desk setup for remote work to optimize your screen height and viewing distances before locking down your cables.
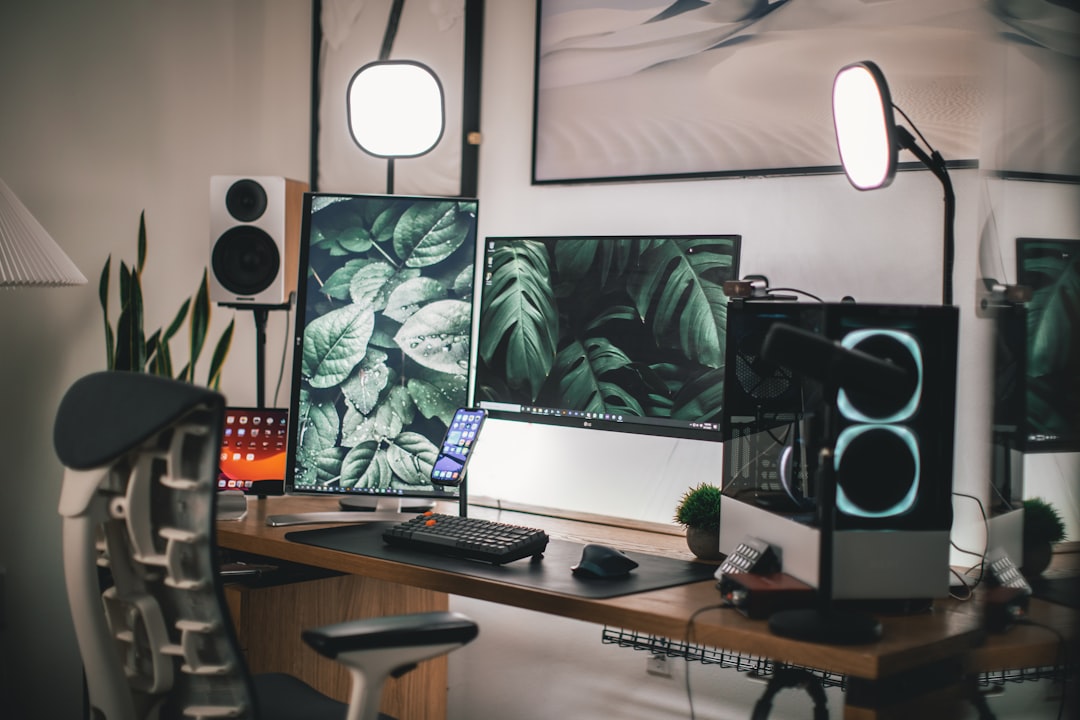
- Power down both your personal computer and your work laptop before connecting video lines.
- Connect your primary monitor to the KVM switch's Display Output port using an HDMI or DisplayPort cable.
- Plug your core desktop peripherals (keyboard, mouse, USB webcam, and headset) into the designated USB hub ports on the KVM switch.
- Connect your personal laptop to Computer 1 inputs on the KVM switch using either a single full-featured USB-C cable or a combination of an HDMI cable and a USB data cable.
- Connect your work laptop to Computer 2 inputs on the switch using the matching cable configuration.
- Plug dedicated power adapters into both laptops if your KVM switch does not supply integrated Power Delivery charging.
- Connect the KVM switch's power supply to a surge protector and turn on the switch unit.
- Power on both laptops, configure closed-lid power settings in Windows or macOS, and test the manual toggle button or hotkey shortcut to verify fast switching.
Troubleshooting Common Connection and Switching Issues
Even with the right gear, hardware switching can occasionally hit a snag. Here is how to identify and resolve the most common connection issues.
Black Screen or "No Signal" Message
If your external monitor displays a black screen or shows a "No Signal" banner when switched to one of your laptops, check the following:
- Cable Compatibility: Verify that the USB-C cable connected to that laptop supports DisplayPort Alt-Mode. A standard smartphone charging cable will fail to pass video.
- Port Selection: Ensure the USB-C port on your laptop supports video output. On some budget laptops, only one USB-C port handles DisplayPort video while others are data-only.
- Resolution and Refresh Rates: If your monitor is a 4K high-refresh-rate display (such as 144Hz), your KVM switch may only support 4K at 60Hz. Manually lower the refresh rate in your laptop's display settings to 60Hz to re-establish a stable display link.
Lagging Peripherals or Intermittent Disconnections
If your mouse pointer stutters or your keyboard drops letters after switching:
- Power Supply Limitations: High-draw accessories like unpowered USB hubs, RGB mechanical keyboards, and 4K webcams can draw more power than a basic bus-powered KVM switch can provide. Connect an external power brick to the KVM switch or use a self-powered USB hub for heavy peripherals.
- Wireless Interference: Move 2.4GHz wireless dongles away from active USB 3.0 ports using a short extension cable to prevent signal drops caused by radio-frequency noise.
Cross-Platform Keyboard Shortcuts
When toggling between a Mac personal laptop and a Windows work laptop, key bindings can feel awkward. macOS relies on the Command key for shortcuts while Windows uses Control. Most mechanical keyboards allow you to switch key maps via a physical hardware toggle (Mac/Win mode) on the back of the keyboard, or you can use software tools like SharpKeys on Windows and Karabiner-Elements on macOS to customize your modifier keys on each system independently.
By selecting a hardware KVM switch matched to your display resolution, using high-spec video cables, and setting up proper clamshell power rules, you can connect your work laptop to a personal monitor without software headaches or daily cable swapping. You end up with a single, clean workspace that adapts to your workday in seconds.
Keep reading
Related Articles
Choosing a UPS Battery Backup Home Office Protection Plan
Learn how to choose the right battery backup to protect your desktop gear, prevent sudden data loss, and maintain internet connectivity during power outages.
Thunderbolt 4 Desk Setup Guide: Achieving Single-Cable Connectivity
Learn how to design a high-performance Thunderbolt 4 desk setup to power dual 4K displays, high-speed storage, and charging through a single laptop cable.