Desk Pegboard Organization Ideas for Small WFH Workspaces
Jump to section
Does your desk feel constantly overcrowded, even when you only have a laptop, a coffee mug, and a single notebook out? In small home offices, apartment nooks, or closet conversions, surface area is a luxury. Standard desks measuring under 48 inches wide rarely offer built-in drawers, forcing external hard drives, charging cables, pens, and headphones to compete for the same couple of square feet. When you are trying to work efficiently from a compact setup, implementing smart desk pegboard organization ideas can turn an underutilized wall or desk edge into a high-functioning vertical workstation. By lifting daily essentials off your desktop, you clear mental clutter and reclaim usable workspace without needing a larger desk or extra floor storage.
Vertical organization is particularly effective because it converts empty air into customized, modular storage. Whether you live in a rented apartment where wall drilling is prohibited or operate a motorized standing desk that moves throughout the workday, vertical pegboards adapt to your space rather than forcing you to adapt to them. In this guide, we will break down practical material options, ergonomic layout principles, cable management strategies, and styling tips to help you build an organized vertical storage system that fits your home office budget.
Desk pegboard organization ideas: Choosing the Right Pegboard Material and Mounting System
Selecting the right pegboard material depends largely on what gear you plan to store, your mounting limitations, and your aesthetic preferences. Not all pegboards are created equal, and understanding the trade-offs between materials ensures your setup remains stable and visually pleasing over time.
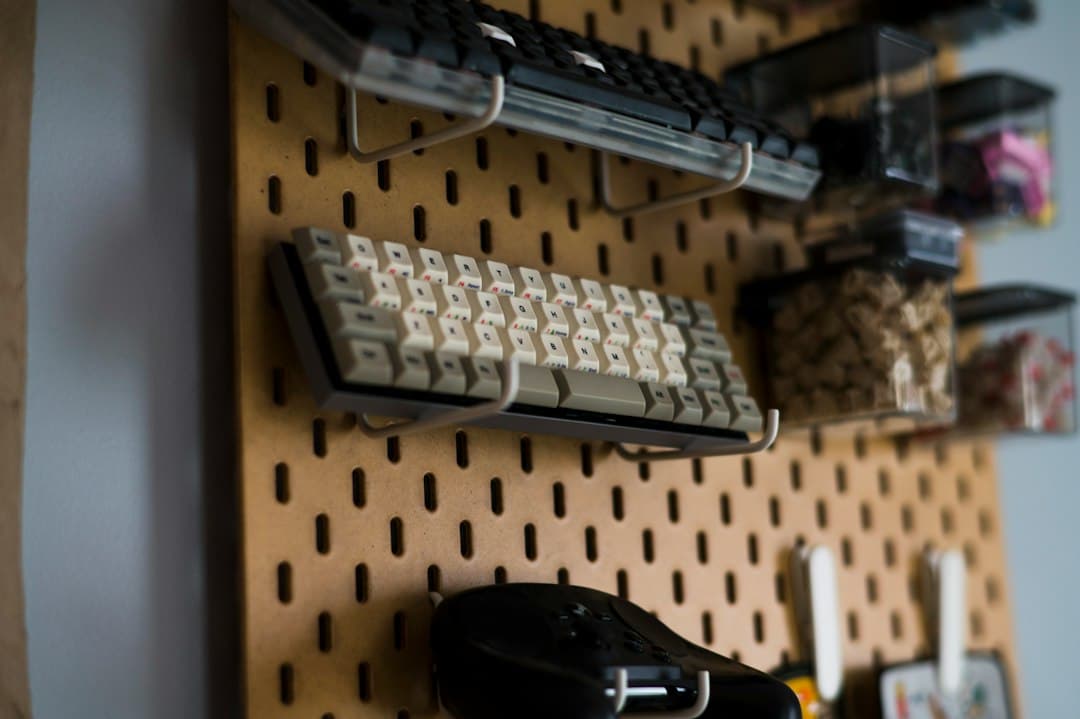
Medium-density fiberboard (MDF) and painted wood panels are among the most popular options for home offices. The IKEA SKÅDIS system, for instance, typically costs between $15 and $35 depending on panel size and starter bundles. Fiberboard options offer a modern, clean look with smooth finishes in white, black, or natural wood tones. They work exceptionally well for lightweight items like stationery, small cable pouches, wireless mice, and headphones. However, MDF has weight limits and can warp if overloaded with heavy electronics or exposed to high humidity.
Powder-coated steel or metal pegboards, such as systems from Wall Control, occupy the higher price bracket ($80 to $200+ for multi-panel kits). Metal panels provide high load capacity, often supporting 20 pounds or more per panel. They are ideal if you want to mount heavy gear like laptops, mechanical keyboards, camera lenses, or power strips. Steel boards also accept magnetic accessories alongside standard hooks, offering dual versatility. The trade-off is weight: metal panels require sturdy wall studs or heavy-duty anchors when wall-mounted.
Mounting hardware is equally critical in compact spaces, especially for renters. If you cannot drill holes into apartment walls, consider clamp-on pegboard kits ($35 to $80). These attach directly to the rear edge or side of your desktop using padded steel clamps, creating a sturdy vertical panel that moves seamlessly alongside a motorized standing desk. For light-duty wooden or plastic boards, heavy-duty damage-free adhesive brackets or freestanding desk bases offer zero-drill installation options. Always check retailer specifications for weight limits before mounting heavy tech accessories.
Desk Pegboard Organization Ideas for an Efficient Layout
A poorly organized pegboard quickly becomes visual noise that distracts you during the workday. Applying deliberate spatial layout techniques ensures your accessories remain within easy reach while maintaining a calm, clutter-free appearance.
Start by establishing your primary reach zone. When sitting at your desk, position the most frequently used items in the bottom third of the pegboard, roughly 6 to 8 inches (15 to 20 cm) above the desktop. This zone should house items you reach for multiple times an hour, such as your primary headphones, daily writing utensils, phone charger, or notepad. Placing these items in a no-stretch zone minimizes repetitive arm strain throughout the day. While pegboard positioning offers ergonomic convenience, remember that this guidance is focused on comfortable setup ergonomics rather than medical advice.
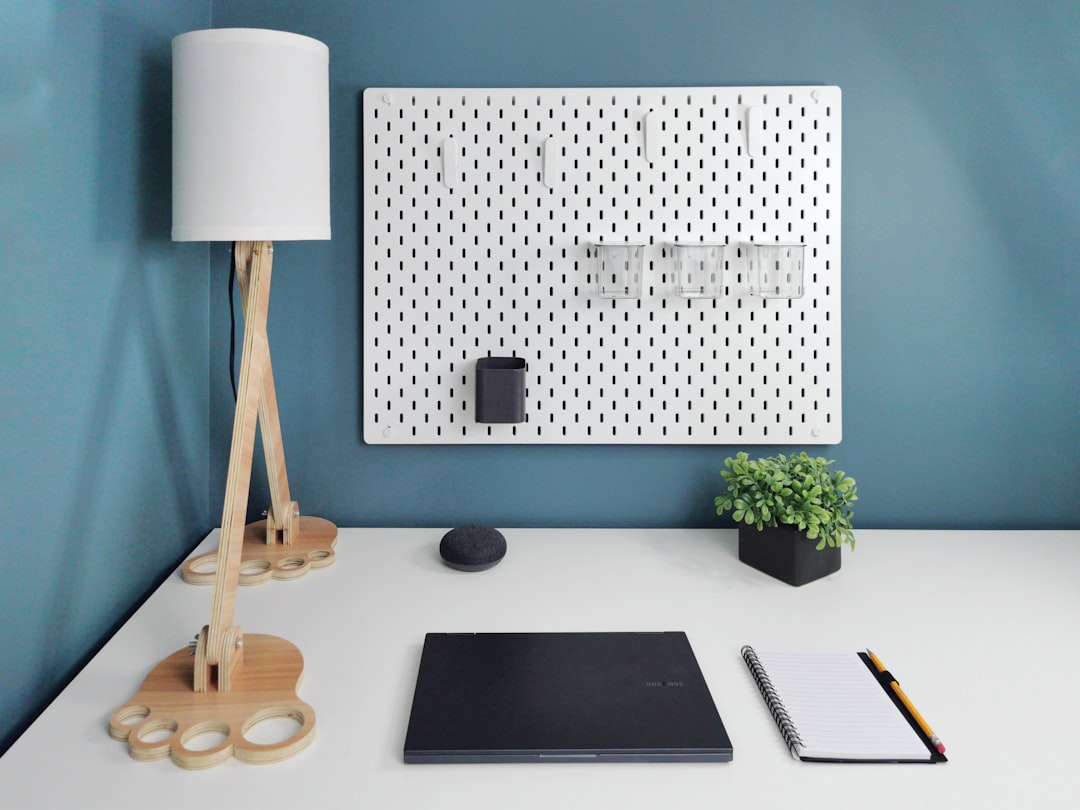
Follow a logical weight distribution strategy across the panel. Place heavy objects near the bottom center of the board. Laptops on vertical mounts, heavy power banks, and multi-port charging hubs should sit low to keep the center of gravity stable, especially on clamp-on systems. Reserve the upper third of the board for lightweight, decorative, or low-frequency items like small potted plants, ambient lights, or archived notebooks.
To avoid a chaotic look, maintain open visual space. A practical rule of thumb is to leave 20% to 30% of the pegboard surface empty. Group similar items together into designated functional zones. For example, keep all audio gear (headphones, DAC, audio cables) on the left side, stationery and paper notes on a small central shelf, and mobile device charging docks on the right side. Choosing accessories in a consistent two-color theme (such as matte black hooks on a white board) unifies the visual presentation.
Step-by-Step Pegboard Installation Checklist
To build a functional vertical storage setup without unexpected hardware issues, follow this structured installation sequence before attaching permanent accessories.
Measure your desktop width and monitor height to ensure the board will not obstruct your display screen or webcam.
Determine your mounting method: choose edge clamps for standing desks or renters, wall anchors for permanent studs, or freestanding feet for light setups.
Unbox and clean the panel surface, verifying all included hardware matches the mounting bracket dimensions.
Attach the mounting brackets or clamps to the board loosely first to confirm alignment before final tightening.
Secure the pegboard to your desk or wall, using a bubble level to ensure exact horizontal alignment.
Test load stability by applying downward pressure on the lower edge before placing electronic equipment.
Install primary shelves, heavy tech hooks, and cable loops starting from the bottom and working upward.
Arrange your daily work tools, verifying that seated reach distances feel comfortable without awkward stretching.
Managing Cables and Tech Accessories on Vertical Storage
One of the greatest benefits of a desk pegboard is its ability to hide cable clutter. Small workspaces suffer when cords trail across the desk surface, creating tangle points for mice and keyboards.
You can mount a slim power strip directly to the lower back or front section of the pegboard using heavy-duty hook-and-loop straps or dedicated pegboard brackets. This keeps power bricks off the floor and prevents short charging cords from dangling. Route cable runs along the rear side of the board using plastic cable loops or magnetic clips fed through the peg holes. If you want to explore broader cable management strategies for your full workstation, check out our detailed guide on desk cable management essentials.
When mounting electronics like wireless headphones, game controllers, or external hard drives, choose rubberized or coated hooks. Uncoated metal hooks can scratch plastic housings over time. For phone or tablet charging, place a narrow shelf with a built-in cable pass-through slot on the pegboard. This creates a dedicated charging dock that keeps your phone upright, visible for incoming notifications, and off your primary desk pad.
Styling Your Pegboard for a Clean Video Call Backdrop
In compact home offices, your desk pegboard is often visible in the background of video calls on Zoom or Microsoft Teams. A clean, thoughtfully arranged pegboard projects professionalism while adding personality to your space.
If your camera framing captures the pegboard, keep decorative elements simple and intentional. Integrate one or two small faux succulents or low-maintenance trailing plants in dedicated pegboard basket holders. Small greenery introduces natural texture that breaks up the rigid geometry of tech gear and metal panels.
Lighting also plays a significant role in how your setup appears on camera. You can attach a slim USB LED light bar to the underside of a top pegboard shelf to cast downward task lighting onto your desk. Alternatively, tucking a subtle warm LED light strip behind the edges of a wall-mounted board creates soft back-light ambient glow without causing harsh glare on your monitor screen or webcam lens.
Maintaining and Adapting Your Workspace Over Time
The main advantage of pegboards over traditional fixed shelving is modular flexibility. As your work routine changes, your storage layout should evolve with it. A setup designed for heavy writing and paperwork can quickly transition into a software development or video editing hub simply by swapping out pen cups for headphone hangers and drive mounts.
Schedule a brief workspace review every few months. Remove items you have not used in the past four weeks and store them in closed drawers or closets. If you are operating in a tight nook or converted closet space, maintaining strict inventory control prevents clutter from creeping back onto your desktop. For more layout ideas tailored to ultra-compact setups, read our guide on building a small closet desk build.
By combining durable materials, comfortable reach zones, hidden cable routing, and regular clutter maintenance, a desk pegboard transforms even the smallest WFH corner into a highly productive, organized home office.